Homemade yogurt is absolutely doable without a machine, and the trick is less “special gear” and more “steady warmth for a few hours.” If you’ve tried before and ended up with runny milk, grainy texture, or a weird tang, you’re not alone, most problems come from temperature and starter choices.
This guide gives you a no-machine method that fits a normal U.S. kitchen, plus a quick temperature cheat sheet, a troubleshooting table, and a few realistic variations. You’ll know what matters, what doesn’t, and how to get repeatable results without babysitting a pot all day.
One quick note before you start, yogurt is a cultured dairy food, so cleanliness and temperature control matter. According to the USDA, perishable foods should not stay in the “danger zone” (40°F–140°F) for extended periods, which is why we’ll be deliberate about heating, cooling, and incubating.
What you need (and what you can skip)
You don’t need a yogurt maker. You do need a few basics that keep the process predictable, especially the first time.
- Milk: whole milk usually gives the creamiest set, 2% works, skim tends to be thinner.
- Starter: 2–3 tablespoons of plain yogurt with live and active cultures, or a freeze-dried starter packet.
- Pot + spoon/whisk
- Thermometer: strongly recommended, guesswork is where batches go sideways.
- Incubation container: an oven with the light on, a cooler, or an Instant Pot set to “Keep Warm” (not pressure cooking) can all work.
- Clean jars with lids
Optional but helpful, a fine-mesh strainer and cheesecloth for Greek-style thickness, and a towel for insulation.
The no-machine method: step-by-step homemade yogurt
This is the core process for homemade yogurt. Read once, then cook, it’s simple but timing matters.
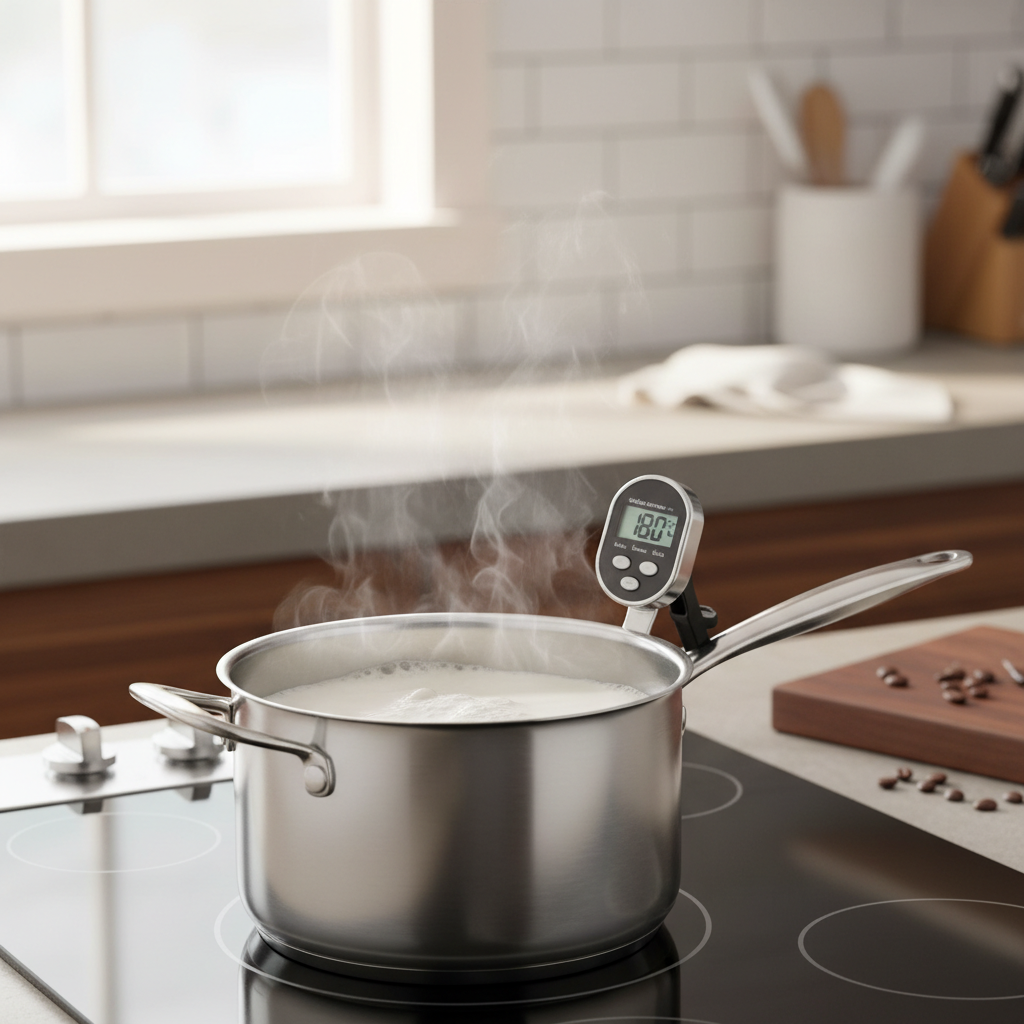
1) Heat the milk (protein reset)
Pour milk into a pot and heat to 180°F–185°F, stirring occasionally so the bottom doesn’t scorch. Hold it around that range for about 5–10 minutes if you can.
This step isn’t just “pasteurizing,” it helps the milk proteins set into a better gel, which usually means thicker yogurt later.
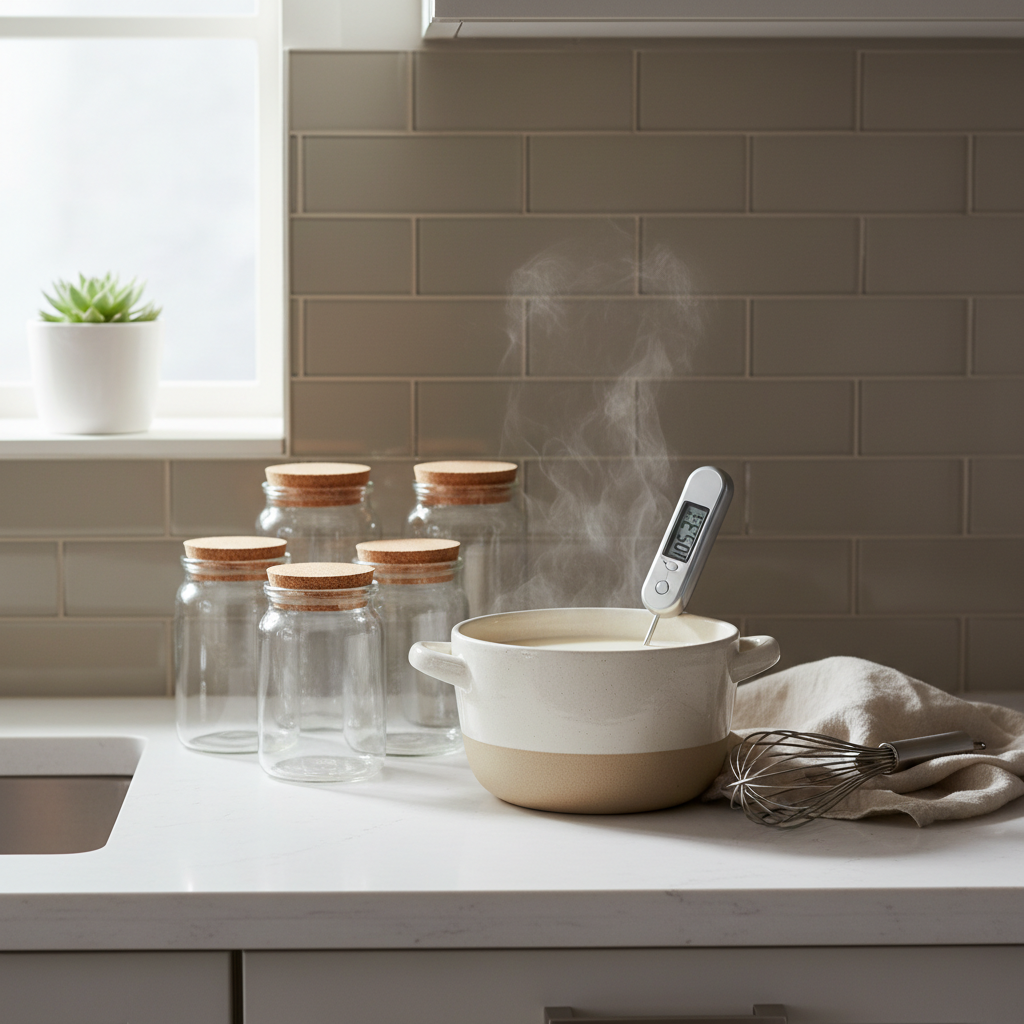
2) Cool to inoculation temp
Remove from heat and cool the milk to 110°F–115°F. You can wait on the counter, or speed it up with a sink ice bath.
- If you add starter too hot, you may weaken or kill cultures.
- If you add starter too cool, fermentation crawls and the set can be loose.
3) Add starter (don’t dump it straight in)
In a small bowl, whisk a ladle of warm milk into your starter yogurt until smooth, then whisk that mixture back into the pot. This “temper” step reduces lumps and helps cultures distribute evenly.
4) Incubate warm and still
Pour into jars, cover, and hold at 105°F–115°F for 6–12 hours. Longer usually means tangier, not automatically “better,” just more sour.
- Oven light method: place jars in the oven (off) with the light on. Add a towel around them for insulation if your oven runs cool.
- Cooler method: put jars in a cooler and pour in warm water (around 115°F) up to the jar “shoulders.” Close lid.
- Warm spot method: near a radiator or on top of a warm appliance can work, but it’s less consistent.
5) Chill before judging texture
When it looks set (like soft custard), move jars to the fridge for at least 4 hours. Yogurt firms up as it cools, a lot of people taste too early and think it “failed.”
Temperature & timing cheat sheet (save this)
If you only remember one thing, remember this table. Most homemade batches succeed or fail here.
| Stage | Target | Why it matters |
|---|---|---|
| Heat milk | 180°F–185°F | Improves thickness and reduces random microbes |
| Cool milk | 110°F–115°F | Best range for adding starter |
| Incubate | 105°F–115°F | Culture activity and set formation |
| Incubation time | 6–12 hours | Controls tang and firmness |
| Chill | 4+ hours | Final texture develops |
Quick self-check: why your yogurt turns out runny (or too sour)
If your homemade yogurt doesn’t match what you pictured, run through these before changing everything at once.
- Starter label: does it say live and active cultures, and is it plain?
- Starter amount: too much can make texture weird, too little can slow fermentation.
- Incubation temp: did it actually stay warm, or did it drift to room temp?
- Movement: jars got bumped or stirred during incubation, which can break the forming gel.
- Incubation time: too short often equals runny, too long tends toward sharp tang and whey separation.
- Milk type: ultra-filtered milk can behave differently, and skim milk typically sets thinner.
Key point: one small adjustment beats five random tweaks. Change one variable, then try again.

Troubleshooting table (real fixes, not wishful thinking)
| Problem | Likely cause | What to do next time |
|---|---|---|
| Runny yogurt | Incubation too cool or too short | Use a thermometer during incubation, aim 105°F–115°F, go 8–12 hours |
| Grainy texture | Starter added too hot or starter not well mixed | Cool to 110°F–115°F, temper starter with warm milk before adding |
| Too sour | Incubated too long or too warm | Stop earlier (6–8 hours), keep closer to 105°F |
| Lots of whey on top | Over-incubation or jar movement | Shorten incubation, keep jars still, strain if you like thicker yogurt |
| No set at all | Weak/old starter, milk too hot when inoculated | Buy fresh plain yogurt with live cultures, confirm inoculation temp |
Make it your way: thicker, Greek-style, or dairy-free notes
If your goal is thick yogurt, the simplest path is straining, not adding a bunch of thickeners.
Thicker regular yogurt (no strainer tricks)
- Choose whole milk
- Hold the milk at 180°F–185°F for closer to 10 minutes
- Incubate toward the longer end, but stop when it’s pleasantly tangy
Greek-style at home
Line a strainer with cheesecloth, pour in chilled yogurt, and strain in the fridge for 1–3 hours. You’ll lose some volume as whey drains, that’s normal.
Flavoring without breaking texture
- Sweeten after chilling with honey, maple syrup, or jam
- Add fruit on the bottom of the jar before serving, not during incubation
- Vanilla extract is fine, but add it after fermentation
Dairy-free reality check
You can culture coconut, soy, or oat bases, but results vary a lot by brand and stabilizers. If you have allergies or medical dietary needs, it’s smart to check with a qualified professional, especially if you rely on fermented foods for gut issues.
Food safety and storage (what I’d actually follow)
Yogurt-making is generally low drama, but it’s still dairy and bacteria culture, so basic safety is non-negotiable.
- Start with clean jars and utensils, dishwasher-clean is usually fine.
- Don’t leave milk sitting warm on the counter for long stretches outside the controlled incubation window.
- Refrigerate promptly after incubation and chilling.
According to the FDA, refrigeration helps slow harmful bacterial growth in perishable foods. In most home kitchens, yogurt keeps around 1–2 weeks refrigerated, but smell, taste, and visible mold should guide you, when in doubt, toss it.
Conclusion: a simple routine that keeps homemade yogurt consistent
Homemade yogurt without a machine works when you treat temperature like an ingredient, heat the milk enough, cool it to the right range, then keep it warm and still until it sets. Once you nail one batch, you can tweak tanginess, thickness, and flavor with small changes instead of starting over.
If you want an easy next step, pick one incubation setup in your kitchen, oven light or cooler, and run two batches back-to-back, only adjusting time. That’s usually the fastest way to land on “your” ideal yogurt.
FAQ
How do I make yogurt at home without a yogurt maker?
Use a pot to heat and cool the milk, add a live-culture starter at 110°F–115°F, then incubate jars in an oven with the light on or in a cooler with warm water for 6–12 hours.
Why didn’t my homemade yogurt thicken?
Most often the incubation temperature dropped too low, or the starter was weak. Check your thermometer, and make sure the starter is plain yogurt with live cultures and within its freshness window.
Can I use flavored yogurt as a starter?
It sometimes works, but it’s unreliable because sugar, flavorings, and stabilizers can interfere. Plain yogurt with live cultures tends to be much more consistent.
What is the best milk for homemade yogurt?
Whole milk usually gives the easiest thick set. 2% can still work well. Skim milk often turns out thinner unless you strain it or accept a softer texture.
How long should I incubate yogurt to avoid it getting too sour?
Try 6–8 hours at about 105°F–110°F. If it still tastes sharp, shorten the time a bit more rather than dropping the temperature too far.
Is whey on top a sign the yogurt went bad?
Not by itself. Whey separation is common with longer incubation or movement. Pour it off, stir it back in, or strain for a thicker texture. If you smell something unpleasant or see mold, discard.
Can I reuse my homemade yogurt as starter for the next batch?
Usually yes for a few generations, as long as it tastes clean and you didn’t contaminate it. If sets start getting weaker, go back to a fresh store-bought plain starter.
If you’re making yogurt regularly and want fewer “is this warm enough?” moments, it can help to pick one repeatable incubation setup and stick with it, or even keep a dedicated thermometer and jars so the process feels more like a routine than a project.